DXF to TS.  I don't know exactly why it happens, it just does - but it's very easy to fix.
For trueSpace, I'm not going to guide you step-by-step for things like I did in Rhino (at least, I don't think I'm going to...). I simply don't know the program all that well. There are plenty of good tutorials out there that will get you aquainted with the program, so all I'm going to do is show you what needs to be done.
First of all in TS, save whatever you might have been working in and start a new scene. Now go to File -> Load -> Object... and open up the DXF.
If you choose the Draw Objects As Solid option (which is down on the same row as the menus, but towards the left) you will see that the object looks weird. It's inside out - the normals of all the faces are flipped. For some reason this happens in the conversion from Rhino through DXF to TS.  I don't know exactly why it happens, it just does - but it's very easy to fix.
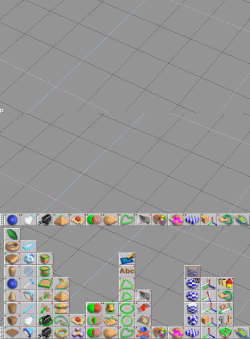
So first thing, we need to flip all the normals of the model. To do this, find the Flip All Normals button and click it. If you don't see it, it may be under one of the pop-up toolbars that TS loves to use. Each toolbar has a handle on one end.
One more thing we need to do before we start on the actual work on the model, is rotate it. While it is not a crucial matter for our example gun platform, when making an actual ship you will need to take this into consideration.
If you create a ship in Rhino whose right side is what is shown foremost in the right viewport, then you will have to rotate it counter-clockwise by 90 degrees when imported in TS. To make sure that we only rotate the model by 90 degrees, click on the Grid button. This will constrain the rotation to 45 degree increments.
Now click on the Object Rotate button up top. The toolbar it is on may be collapsed, however. Once you've located the button and clicked on it, use the right mouse button to click 'n drag in the main window to rotate the model 90 degrees counter-clockwise.
| << Previous section | | | < Previous page | | | Home | | | Next page > | | | Next section >> |