Ok, we have a completely modeled turret sitting out in the middle of nowhere. Now we get to put it where it belongs.
Turn on the layer with the hull of the gun platform, or unhide it, or undo whatever it was you did to get it to go away. :) Is it back? Good. Now pay attention, cause this can get confusing if you miss something.
Make sure that OnSnap's "End" is the only one on, and that "Snap" is off. Open the Layers panel and make the hull layer the current one. What you need to do is to create 2 lines in an "X" across each face that will have a turret on it. To save time we'll take advantage of the symmetrical aspect of the gun platform and mirror our efforts to the other 3 faces. So click the polyline tool and go to the first face. Click on one of the corners of the face and then click on the diagonally opposite corner, then right-click to end the line. Do the same thing connecting the other 2 corners to get the "X" shape.
What this did was to create an intersection in the exact middle of the face. You may have noticed that one of the OnSnap options is "Int", which is short for intersection. Now what we're going to do is orient the turret and it's box from the center of the turret base to that intersection, and on that face.
Click on the Select All on Layer button, and then select both turret01 and turret01-box in the panel that pops up by holding down the CTRL key while you click on the second layer. Click "Ok".
Now click and hold the "Move" button to get the pop-up transform palette. Choose the "Orient on Surface" tool. Zoom Extents All Views. Turn on "Snap" and turn off all the OnSnaps. In the top viewport, place the mouse at the center of the selected turret. Make sure that in the other views the little square pointer is on the same level as the base of the turret. If it isn't, hold down CTRL so you can correctly position. Click.
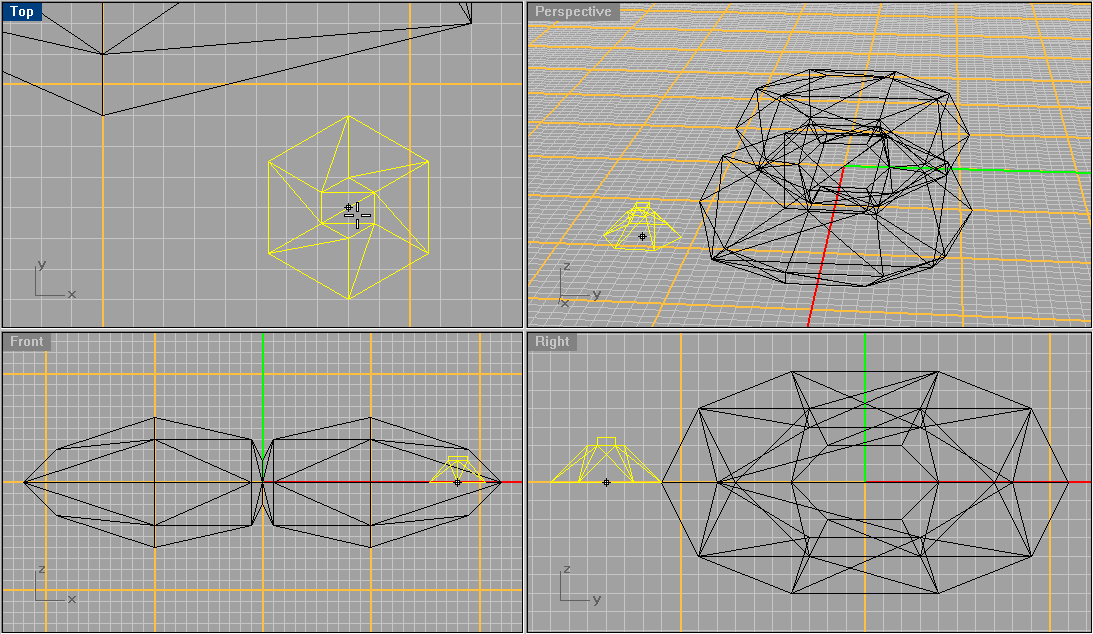
You now need to pick the surface you want to orient the turret onto. Select one of the triangular 3D Faces making up the rectangular face. You can only choose one, but it doesn't matter, as they both meet at the intersection of the polylines. Now you can choose exactly where on that 3D Face to orient the turret to. Turn on OnSnap's "Int", and then move the mouse over the intersection of the 2 polylines we created before.  When the small square snaps to the intersection, the status bar at the bottom will replace the word "OnSnap" with "Int". Check again in all views that the placement is correct, then click. Now right-click to exit the Orient on Surface mode. It should look like the picture to the left.
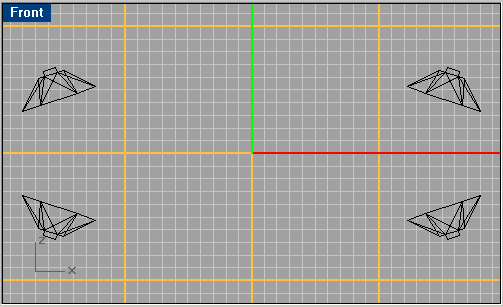
You may delete the original turret and box now if you want. The newly placed turret and box are still on their respective layers, so use the Select All on Layer button again to select the new turret and box. Now do the same thing that you did with the original hull quarter: mirror once along one axis, then again along the other.
Once all 4 turrets are placed, we need to put them on the right layers. First of all, turn off or hide the hull layer. You should be left looking at 4 turrets w/ boxes, floating in position. Now make new layers, turret02 to turret04 and turret02-boxturret04-boxturret## layer, and the turret's corresponding box on the turret##-box layer.
Go through all the layers again, to ensure that all have their objects and only their objects. Once you've confirmed everything, turn on all the layers. Then press Select All Polylines and delete them.