
For a model to convert sucessfully in POF CS, it needs to have at least one texture assigned to all of it's faces. So let's get aquainted with TS and textures. But keep in mind that we're not going to do a complete texturing job at the moment. The model needs to be checked to make sure that it works and is stable in FS2. Complete texturing should be the last thing you should do with a model.
|
|
|
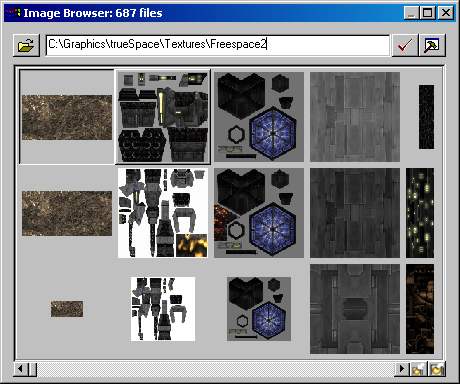
TS has 3 different tools to deal with textures: the Image Browser, the Material Library and the Material Editor. The Image Browser is where you can locate images anywhere on your hard drive and add them to the Material Library. The Material Library stores different materials, which can have various properties, such as reflectance, bump maps and textures.
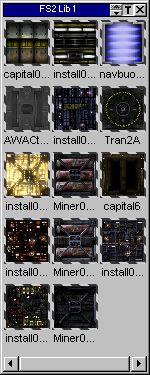
First of all, we need to decide what textures we want to use. Since right now we're just going to be testing the model's geometry, we don't need to give it a real good texturing job. Find AWACtile3.bmp in the Image Browser (read the TotM sidebar for details about this) and drag it into the Material Library window. Close the Image Browser window, and open up the Material Editor tool. It should open up with the AWACtile3.bmp already loaded. Click the first small button on the titlebar of the Material Editor, the "Color: texture map" button. In the picture it is the depressed button. In the new section that pops-up from the Material Editor, click on the downward-pointing red arrow to expand the box to it's fullest.
This is a main part of texturing. Here you can set the number of times a texture repeats itself in the area you've assigned it to, as well as determining the texture offset (streching in either direction). The default values are fine for us as this is simply a test. Click on the Paint Object button in the Material Editor to assign the current material to the whole model.
Now, the model needs to be told exactly how to apply our 2D texture/material to this 3D map. This is called UV Projection. For now we'll use one of the simpler types - the Cubic UV Projection. This will apply the material to the object in a box-like fashion, and generally works quite well for solid 3D objects. Click on the Cubic UV Projection; note that it may be on the pop-up UV Projection menu. Finally, click on the Object Tool to exit UV Projection mode.
If you have the Draw Objects as Solid option selected, you should now see the model in all it's textured glory! :)